
 EN
EN
 BG
BG
 NL
NL
 FI
FI
 FR
FR
 DE
DE
 IT
IT
 JA
JA
 KO
KO
 PL
PL
 PT
PT
 ES
ES
 SV
SV
 TL
TL
 ID
ID
 VI
VI
 TH
TH
 TR
TR
 MS
MS
 BN
BN
Understanding Hydrogel Screen Protectors
A hydrogel screen protector is a flexible, thin film designed to protect screens from scratches and impacts. One of the key features of hydrogel is its self-healing property, which allows it to recover from minor abrasions. This quality ensures that your device’s screen remains clear and undamaged, even after everyday usage mishaps.
Compared to traditional glass protectors, hydrogel screen protectors are notably lighter and more adaptable. They are particularly effective in covering curved surfaces seamlessly, which is a significant limitation of standard glass protectors. Moreover, hydrogel protectors offer excellent tactile feedback, ensuring a responsive touch-screen experience. They also provide high transparency, allowing for an optimal viewing experience without compromising screen clarity. These attributes make hydrogel screen protectors an increasingly popular choice among smartphone users.
Importance of Proper Installation
Proper installation of hydrogel screen protectors is crucial to their effectiveness. When correctly applied, these protectors adhere seamlessly to the device’s screen, ensuring full touchscreen functionality without hindrance. This adherence is vital because it maintains the integrity of the screen protector's purpose, which is to shield your device against scratches and impacts while allowing for smooth user interaction.
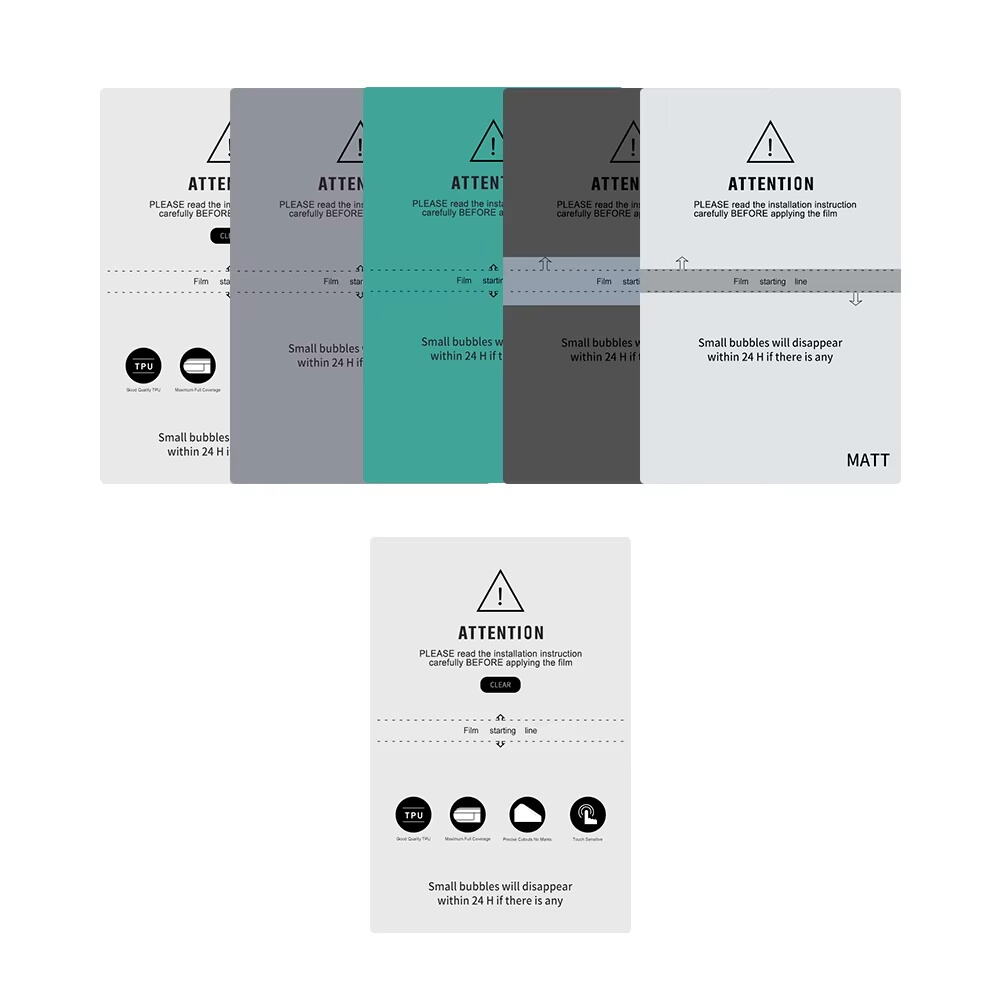
Conversely, improper installation can lead to several issues. It often results in unsightly bubbles, misalignment, or even reduced protection effectiveness. Such errors might cause the screen protector to lift or peel from the edges over time, thereby compromising its protective features. Ensuring a clean surface and precise alignment during the application can prevent these problems and help extend the life of the protector. Following detailed instructions like those tailored for screen protector machines and other application tools can greatly assist in achieving a perfect fit and long-lasting protection.
Step 1: Gather Necessary Tools
To ensure a flawless application of your hydrogel screen protector, you need to gather several essential tools. Firstly, the hydrogel screen protector itself is necessary to safeguard your device's screen from scratches and damage. A microfiber cloth is crucial as it helps clean the screen without leaving any scratches or marks. Make sure to have an alcohol wipe ready, as it will effectively remove any grease or fingerprints, ensuring your screen is spotless before application. An installation guide can also be very helpful, providing step-by-step instructions specific to your protector type.
Additional tools can improve the quality of your application, achieving a professional finish. A credit card or any similar flat-edged tool can be used to smooth out any air bubbles that may appear during application. A lint-free cloth is excellent for removing any remaining dust particles. By using these tools correctly, you ensure a seamless fit that maintains full touchscreen functionality. Remember, the preparatory step is vital as it directly affects the final appearance and effectiveness of your protector installation.
Step 2: Clean the Screen Thoroughly
Cleaning your device screen is a vital step in preparing for a successful application of the hydrogel screen protector. Use alcohol wipes to effectively remove oils and residue, ensuring no contaminants interfere with the adhesive bonding of the protector. This step is crucial as any leftover grime can prevent the protector from adhering properly, potentially leading to bubbles or edges that peel up over time.
To minimize the risk of scratches during cleaning, it is recommended to utilize a microfiber cloth in conjunction with the alcohol wipes. This combination safely cleans the screen without leaving scratches or lint behind. Ensure that the screen dries completely after cleaning. This dryness maximizes the adhesion of the screen protector, as moisture or residue can compromise the bonding process. Therefore, taking these steps to clean and dry your screen thoroughly will set the foundation for a sleek and enduring screen protection.
Step 3: Align the Protector
Accurate alignment is essential when applying a screen protector. Start by carefully positioning the hydrogel screen protector just above the surface of your device's screen. Align the protector's edges meticulously with the device to ensure a precise fit. This step is critical in ensuring that the screen protector covers the entire display area without leaving gaps or overhanging the edges.
Using the cutouts in the screen protector as guides can greatly assist in achieving a perfect placement. These cutouts serve as useful visual references, allowing you to ensure that important areas such as the camera and sensor remain unobstructed and correctly aligned. By taking advantage of these features, you can avoid common pitfalls and achieve a flawless application, ensuring that your device retains its full functionality while being protected.
Step 4: Apply the Protector
Applying a hydrogel screen protector involves a careful technique to ensure it adheres perfectly while minimizing air bubbles. Begin by gently lowering the protector onto the screen, starting from one edge and allowing it to roll down towards the opposite side. This method ensures that the protector smoothly adheres to the screen, reducing the likelihood of air entrapment beneath the surface.
For a dust-free application, it is crucial to work in a clean environment. Use a lint-free cloth to remove any specks of dust or debris that may have settled on your device before the application. This simple step is vital as even the smallest particles can lead to air bubbles or uneven adherence of the protector. Ensuring a clean surface ensures a flawless finish and extended durability of the screen protector.
Step 5: Smooth Out the Surface
Effectively smoothing out the surface of a screen protector involves carefully removing any air bubbles that may have formed during application. To do this, you can use a credit card or a similar flat tool. Begin from the center of the screen and gently push the bubbles towards the edges, applying consistent pressure until the surface is smooth and bubble-free. This process is crucial for achieving a clean and professional look, ensuring the screen protector evenly adheres to the device without any disruptions.
After smoothing out the primary surface, it's important to pay attention to the final touches to ensure a flawless finish. Inspect the entire screen for any remaining imperfections that might have been overlooked. Use a microfiber cloth to perform a small clean-up around the edges of the screen protector. This will remove any lint or small particles, maintaining a neat appearance. Conducting these finishing touches not only enhances the visual appeal but also strengthens the protector's attachment to your device, giving you a seamless result.
FAQ
What is a hydrogel screen protector?
A hydrogel screen protector is a flexible film that protects device screens from scratches and impacts, featuring self-healing properties to recover from minor abrasions.
How is a hydrogel screen protector different from a glass protector?
Hydrogel screen protectors are lighter, more flexible, and better suited for curved surfaces compared to traditional glass protectors, while providing responsive touch feedback and high transparency.
What can go wrong if a hydrogel screen protector is improperly installed?
Improper installation can lead to bubbles, misalignment, or reduced effectiveness, potentially causing the protector to lift or peel, compromising its protective features.
Why is cleaning the screen important before applying a hydrogel protector?
Cleaning the screen removes oils and residue that can prevent proper adhesion, which can cause bubbles and improper adherence.
What tools are necessary for applying a hydrogel screen protector?
Essential tools include a microfiber cloth, alcohol wipes, a lint-free cloth, and optionally a flat-edged tool like a credit card to smooth out air bubbles.
Table of Contents
- Understanding Hydrogel Screen Protectors
- Importance of Proper Installation
-
FAQ
- What is a hydrogel screen protector?
- How is a hydrogel screen protector different from a glass protector?
- What can go wrong if a hydrogel screen protector is improperly installed?
- Why is cleaning the screen important before applying a hydrogel protector?
- What tools are necessary for applying a hydrogel screen protector?
